SQL Server 2008: IT to Business
In previous blog posts, we discussed on the new features such as dynamic development and pervasive insight in SQL Server 2008. In this post, we shall discuss on a fantastic feature – Reporting services in SQL Server 2008.
As all of us are aware of the importance of reports at various levels and this feature in SQL Server 2008 is no exception. This feature helps in achieving and analyzing our targets based on the records available. Reporting services are embedded with SQL Server and we have interface to design reports flexibly and produce them on time.
Reporting Services:
This is very simple and all you need to do is take the following steps:
1. First, check the configuration of the reporting service.
2. Secondly, design Reports
3. Thirdly, deploy Reports
4. At last, view Reports in a click
While installing Reporting Services (SQL SERVER), we need to choose the default configuration which can automate the entire configuration process for reporting services. But sometime, we may need to add or change Reporting Services configuration options.
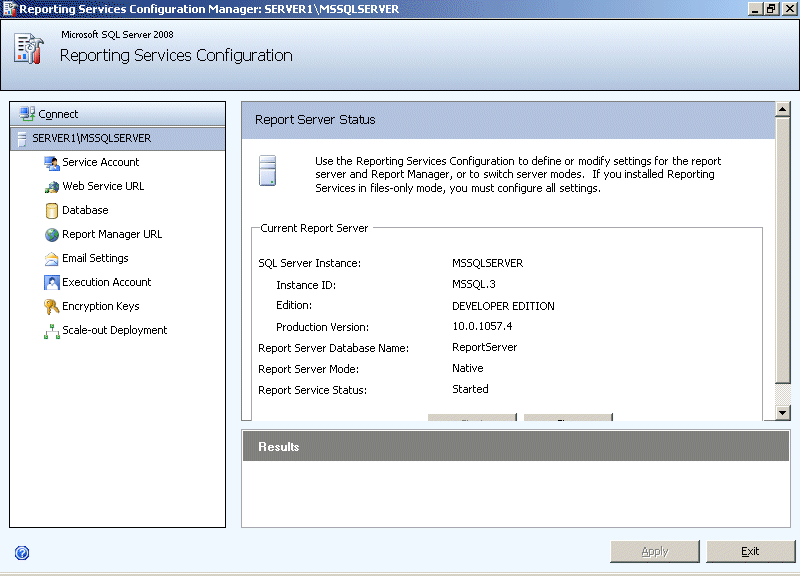
So before going into designing report aspects, the following figure helps administrators to perform each of the tasks required to configure the Reporting Service Deployment which results in reduced downtime and faster delivery of reporting solutions.
- Start the Service
- Configure Web Service URL
- Configure Report Manager URL
- Configure Email Settings if needed
We have a wonderful feature of Report Viewer in designing reports as we expected. Perform the following steps:
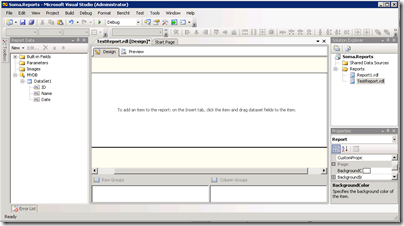
- Create a Solution (Business Intelligence Development Studio)
- Configure Data Source (as usual)
- Click Next
- In the Query Designer, Enter the T-SQL / View (as per your report)
- Verify the Query entered using “Run Query” option
Once the configuration of data source is over,
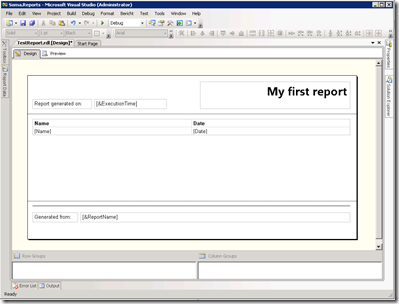
- Click Finish, which would generate the design automatically for the selected data source
- Modify your designs (add additional controls text box, line etc.)
Once your design is over,
- Set Report Server URL
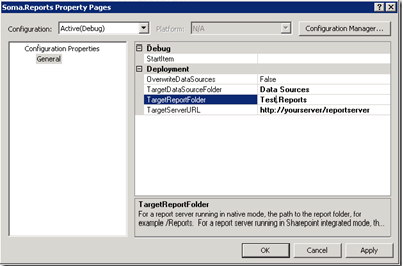
- Right-click on the solution in the Solution Explorer and click on Properties.
You will see the below dialog.
- Change the “TargetReportFolder” value http://myserver/reportserver (not just /report!).
- Press save.
Right-click on the solution again and select Deploy.
Once you deploy successfully without any error,
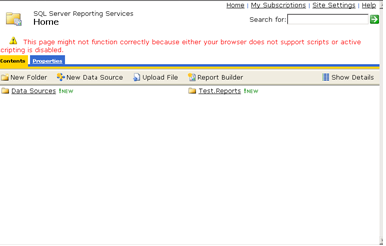
- Browse the URL http://myserver/report (not /reportserver!)
- You will find the below page
- Click on the report and test it
The steps are very simple to follow and we can produce difference sorts of reports with features like list, chart, table, matrix, tablix etc., Apart from these we have parameters (as like other reporting control), interactive sorting features, actions, document maps, image embedding, sub reports, export option to pdf / xls / doc.
Hope this post has offered a comprehensive view of the simplicity of Reporting services which would help us in analyzing and producing on-time reports with desired formats.

